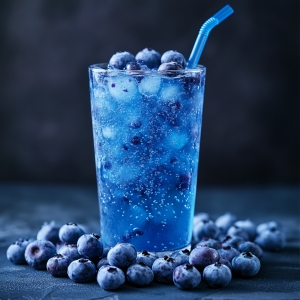
Create your own DIY blueberry electrolyte drink
Stay Hydrated, Stay Prepared: How to Make Your Own DIY Electrolyte Drink
In times of need, whether you’re facing a power outage, stuck at home during a storm, or just preparing for the unexpected, staying hydrated is crucial. But more than plain water is needed, especially when you’re dealing with heat, physical exertion, or illness. That’s where an electrolyte drink comes in handy. While store-bought options are convenient, they can be expensive and full of artificial ingredients. Luckily, you can make your own electrolyte drink at home with simple ingredients you probably already have in your pantry–and save a small fortune. Not only is it cost-effective, but it also gives you complete control over what you’re putting into your body. So I wanted to help you learn how you can whip up this essential survival drink to keep you and your family hydrated and ready for whatever comes your way.
DIY Electrolyte Drink Recipe
Ingredients:
- 1/2 teaspoon salt (use sea salt or Himalayan pink salt for added minerals)
- 1/4 teaspoon baking soda (Start with a small amount, like 1/8 teaspoon, and gradually increase if needed.)
- 1/4 cup lemon or lime juice (or 1-2 teaspoons of a concentrated lemon/lime powder)
- 2 tablespoons honey or sugar (for a bit of energy and taste)
- 4 cups water (filtered or boiled, then cooled)
Instructions:
- Combine Dry Ingredients: In a large jug or container, mix the salt, baking soda, and sugar or honey together.
- Add Liquid Ingredients: Pour in the lemon or lime juice.
- Add Water: Gradually add the water while stirring until everything is fully dissolved.
- Mix Well: Stir until all the ingredients are thoroughly combined and the mixture is clear.
- Store: Keep the drink in a clean, airtight container. It can be stored in the fridge or at room temperature thanks to the honey for up to a week.
Tips:
- Flavor Variations: You can adjust the flavor by adding a bit of fruit juice, freeze-dried or dehydrated fruit, or a few drops of essential oils (ensure they are food-grade).
- Shelf Life: In a survival situation where refrigeration isn’t available, make smaller batches to avoid spoilage.
- Alternative Sweeteners: You can replace honey or sugar with natural sweeteners like stevia, but be mindful that some sweeteners might change the taste.
Flavor Variations for DIY Electrolyte Drinks

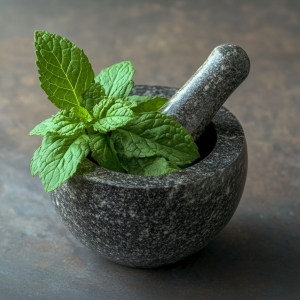
a delicious mint and lemon DIY electrolyte drink
- Citrus Burst:
- Use freshly squeezed lemon or lime juice. (I keep whole limes, lemons and oranges in the freezer that I’ve already zested so that I have access to the juices of them whenever I need them for cooking or baking)
- Add a bit of orange juice for a sweeter kick.
- You can also zest the citrus fruits for a more intense flavor. (I keep my citrus frozen in the freezer and then just snap off a piece when I need it.)
- Berry Blast:
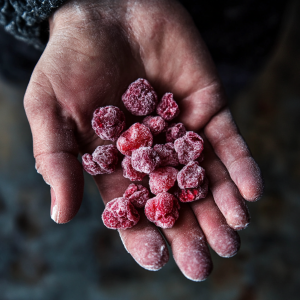
- Blend fresh, freeze-dried or dehydrated berries (like strawberries, blueberries, or raspberries).
- Strain the mixture to remove seeds if you prefer a smoother drink.
- Add a touch of honey or maple syrup for sweetness.
- Tropical Twist:
- Use coconut water as the base.
- Add freeze-dried or dehydrated pineapple or mango juice for a tropical flavor.
- A pinch of sea salt and a squeeze of lime can enhance the tropical taste.
- Minty Fresh:
- Muddle fresh mint leaves at the bottom of your glass.
- Add freeze-dried or dehydrated cucumber slices for a refreshing twist.
- Combine with lemon juice or a splash of apple juice.
-

Freeze-dried raspberries make a great DIY electrolyte drink
Herbal Infusion:
- Brew herbal teas like chamomile or peppermint.
- Cool the tea and use it as the base for your electrolyte drink.
- Sweeten with honey and add a splash of citrus for extra flavor.


